Auto-Layout
Diagrammix3 includes a powerful auto-layout feature that automatically arranges your diagram for optimal readability. It offers several layout algorithms — from the default Sugiyama-based hierarchical layout to tree, radial, circular, force-directed, organic, and grid arrangements — so you can pick the one that best fits your diagram.
When to Use Auto-Layout
Auto-layout is helpful when:
- You've imported a diagram from Mermaid or another format
- Your diagram has become messy after many edits
- You want to quickly organize a large number of elements
- You're starting from a rough sketch and want a clean layout
Applying Auto-Layout
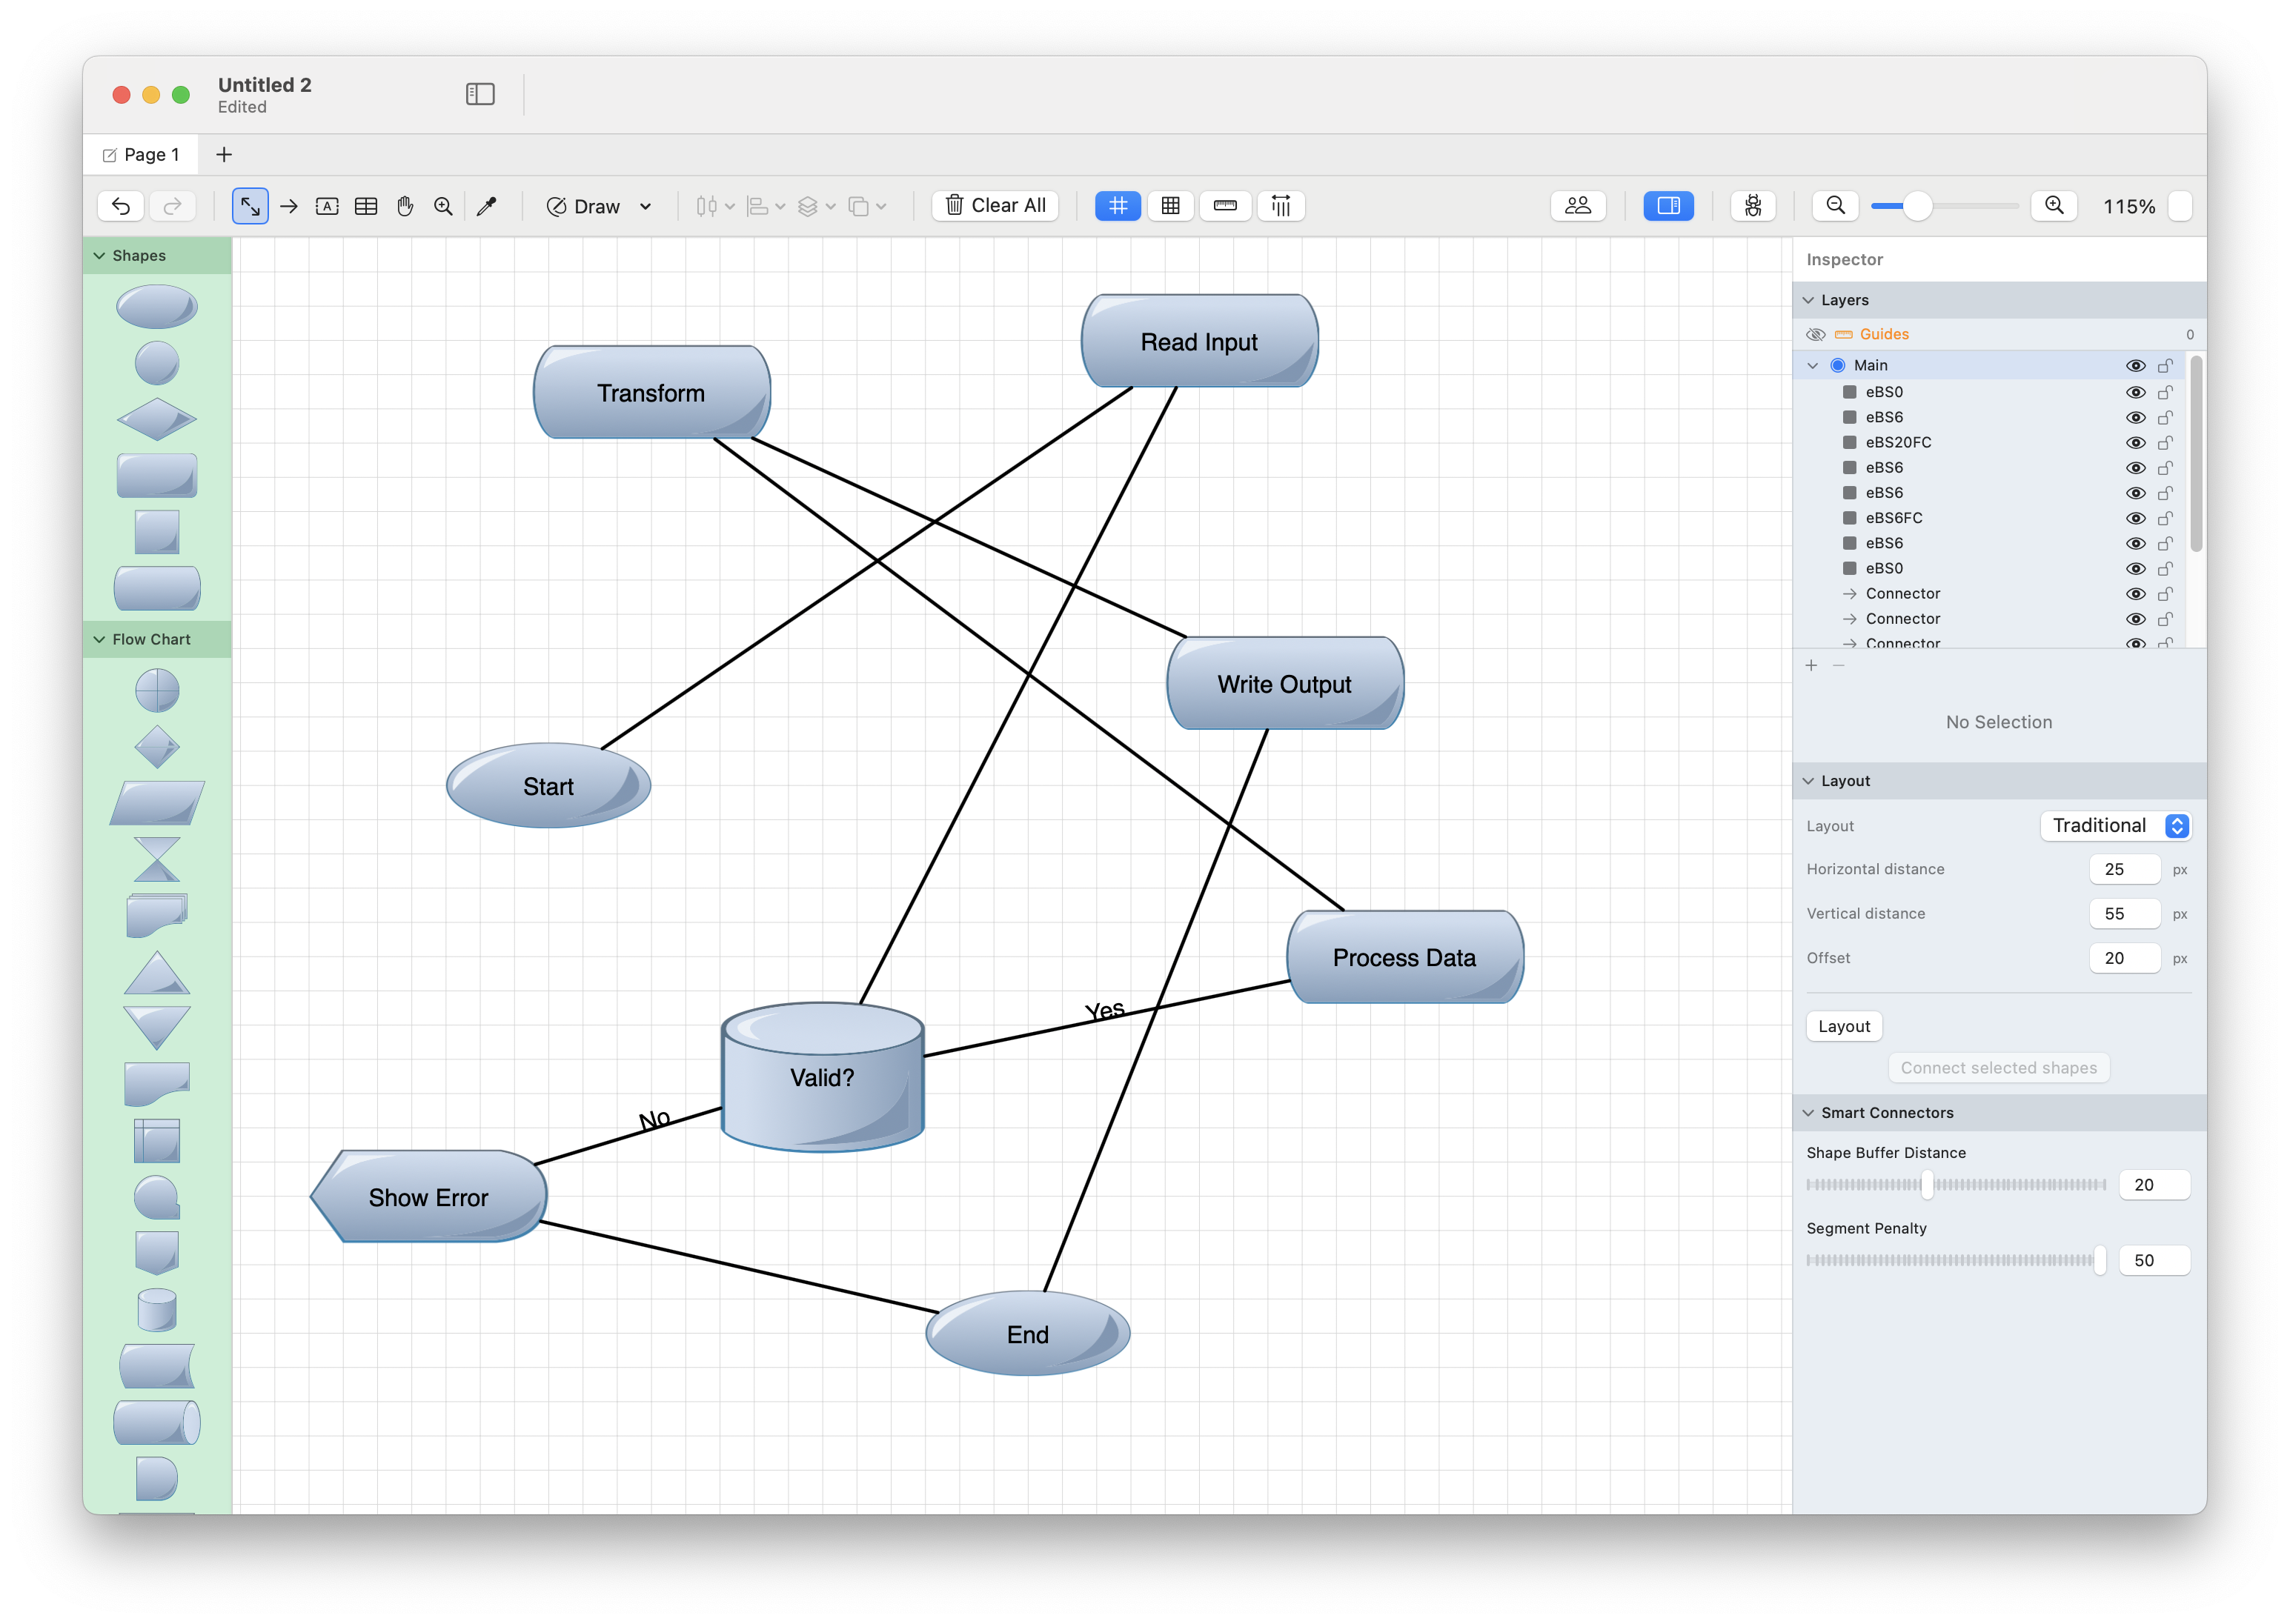
Auto-layout lives in the Inspector — there is no Arrange menu or toolbar button for it.
- Open the Inspector (right sidebar) and select the Arrange tab
- Expand the Layout section
- Pick an algorithm from the Layout dropdown
- Adjust the algorithm's options if you like (they change depending on the algorithm)
- Click the Layout button to arrange the diagram
The Layout button arranges the whole active diagram (every shape on the current tab), so you don't need to select anything first. Press Cmd+Z to undo if you don't like the result.
Layout Algorithms
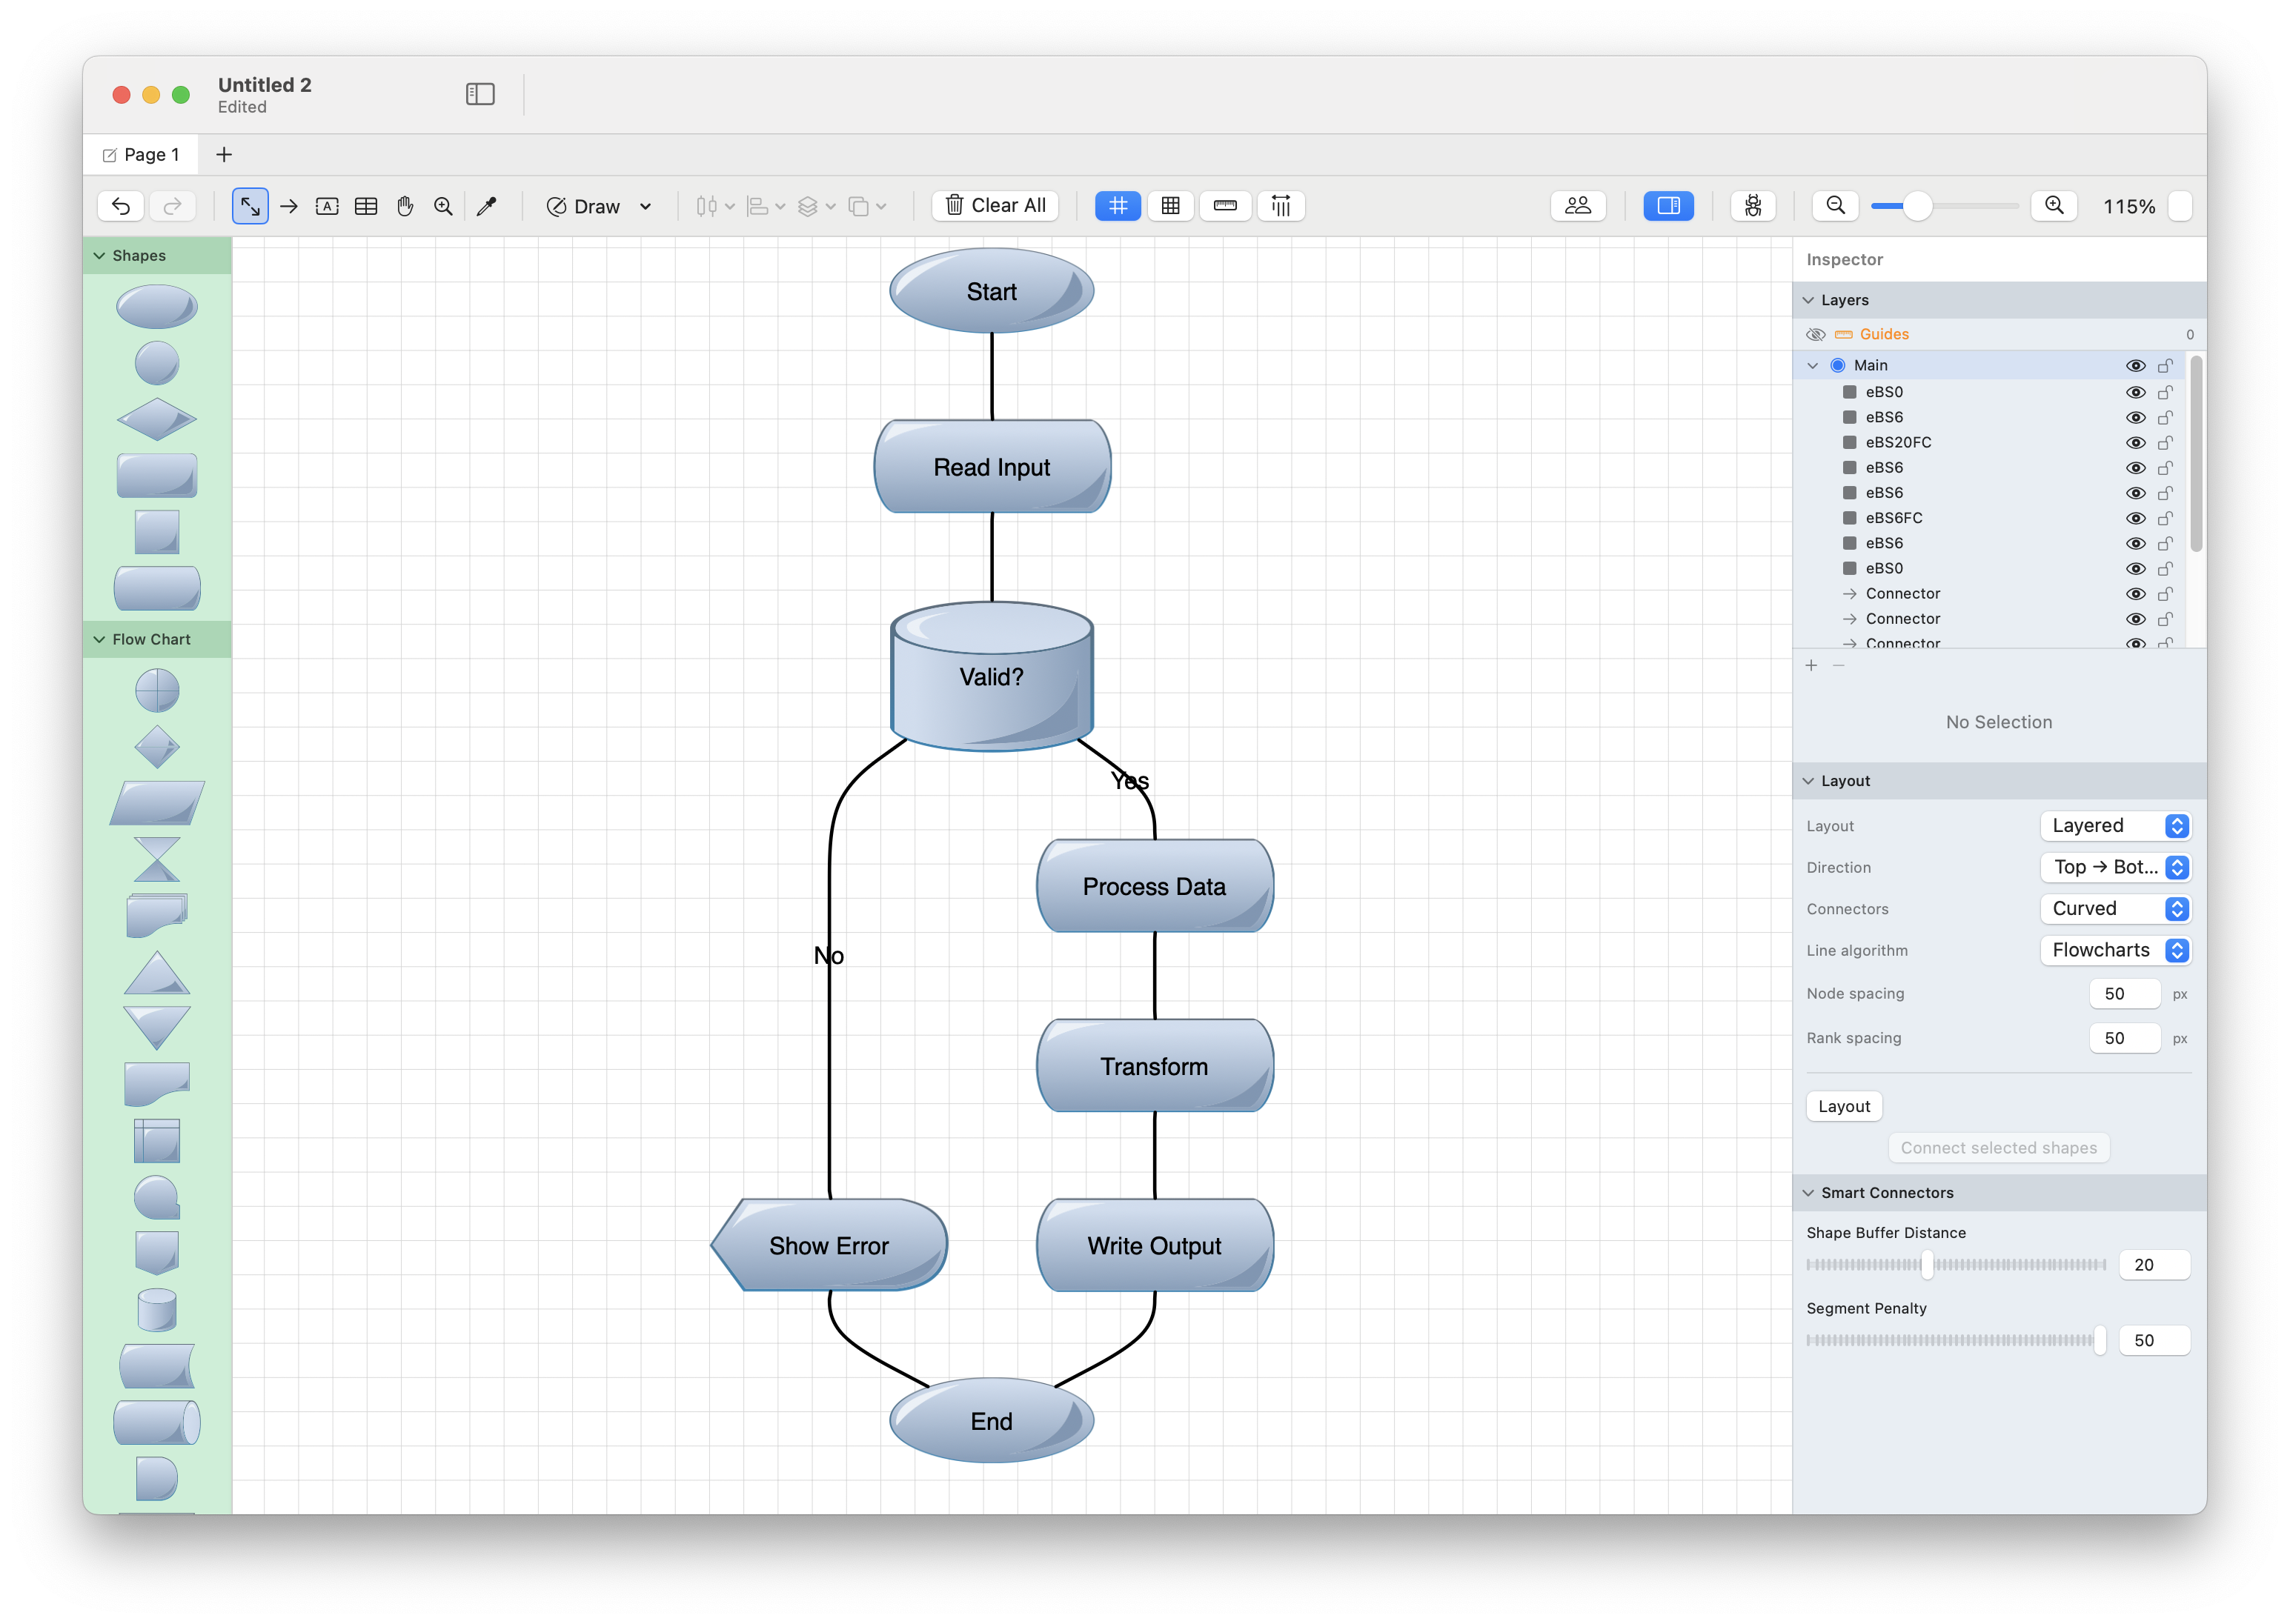
Choose the algorithm that matches the shape of your data from the Layout dropdown:
| Algorithm | Best For |
|---|---|
| Traditional (default) | Flowcharts, org charts, dependency graphs — a Sugiyama-based layered hierarchy |
| Layered | Directed graphs where you want explicit control over flow direction and connector style (Dagre-style) |
| Tree | Strict parent → child hierarchies |
| Radial | Hierarchies radiating from a central root |
| Circular | Nodes arranged around a ring; good for cycles and peer networks |
| Force-directed | Organic, physics-based spacing for general graphs |
| Organic | Natural, evenly spread layouts for dense graphs |
| Grid / Pack | Tidy grid or packed arrangements of loosely related elements |
Tip: Try a few algorithms on the same diagram —
Cmd+Zundoes each result instantly, so it's quick to compare.
Layout Options
The options shown below the algorithm dropdown change with the selected algorithm. The most useful ones:
Direction (Layered and Tree)
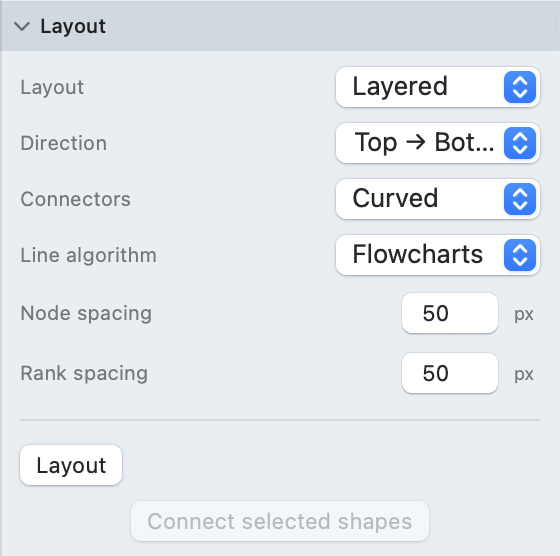
For the Layered and Tree algorithms, a Direction picker controls the flow of the hierarchy:
| Direction | Best For |
|---|---|
| Top → Bottom | Org charts, flowcharts |
| Bottom → Top | Decision trees |
| Left → Right | Process flows, timelines |
| Right → Left | RTL diagrams |
Spacing
Spacing controls are named per algorithm — for example:
- Layered: Node spacing (between siblings) and Rank spacing (between levels)
- Tree: level, sibling, and subtree spacing
- Grid / Pack: number of columns plus horizontal and vertical spacing
- Circular / Radial: radius (or level spacing) and start angle
Connector style (Layered)
The Layered algorithm also lets you choose how connectors are drawn — Straight, Orthogonal (right-angle), or Curved — and fine-tune orthogonal routing (shape buffer, segment and crossing penalties).
Live force layout (Force-directed and Organic)
For the Force-directed and Organic algorithms, a Live toggle keeps the simulation running: drag a node and the layout re-relaxes around it. Turn Live off to keep the result.
Autolayout curves
The Autolayout checkbox affects connectors, not node placement: when enabled, curved connectors automatically recalculate their shape as you move connected shapes. Turn it off for full manual control over curve handles.
Tip: The same Layout section also has a Connect selected shapes button, which wires up the selected shapes in sequence — a quick way to build a graph before laying it out.
The Traditional (Sugiyama) Algorithm
The default Traditional algorithm is a full implementation of the Sugiyama method (layered graph drawing), which:
- Assigns layers: Places nodes in hierarchical levels based on connections
- Reduces crossings: Minimizes edge crossings between layers
- Positions nodes: Places nodes to minimize edge lengths
- Routes edges: Creates clean connector paths
The separate Layered algorithm is a related Dagre-style layered layout that adds explicit direction and connector-style controls. Both are ideal for:
- Flowcharts
- Organization charts
- Dependency graphs
- UML class hierarchies
- State machines
Tips for Better Results
Before Running Auto-Layout
- Delete unnecessary connections: Extra edges increase complexity
- Group related items: Groups are treated as single nodes
- Consider direction: For Layered and Tree, think about which direction makes sense for your diagram
After Running Auto-Layout
- Fine-tune positions: Adjust individual elements as needed
- Check labels: Ensure labels are readable and not overlapping
- Adjust spacing: Increase spacing if elements feel cramped, then click Layout again
Limitations
- Whole-diagram only: The Layout button arranges the entire active tab, not just the current selection
- Cyclic graphs: Diagrams with circular references may not lay out perfectly
- Dense graphs: Very dense diagrams may still have some edge crossings
- Custom positions: Running a layout overrides any manual positioning
Undo
If you don't like the result, press Cmd+Z to undo the layout and restore the previous positions.